Garden Tilling Guide Calculator
Enter your garden details and click "Determine Best Tilling Method" to get personalized recommendations.
| Feature | Garden Hoe | Rototiller |
|---|---|---|
| Price (USD) | $25-$45 | $150-$400 |
| Suitable area | Up to 200 sq ft | 200-1000 sq ft |
| Depth control | Manual, up to 8 in | Motorized, up to 12 in |
| Physical effort | High | Low |
| Noise level | Quiet | 70-80 dB |
Key Takeaways
- Start with a soil test to know what nutrients and pH adjustments you need.
- Choose a tool that matches your garden size - a garden hoe for small beds, a rototiller for larger plots.
- Clear all rocks, weeds, and debris before you begin tilling.
- Work the soil to a depth of 6‑12 inches; avoid over‑tilling which can break soil structure.
- After tilling, add compost or mulch and let the soil settle before planting.
Feeling the earth under your fingers for the first time can be both exciting and a little intimidating. This guide walks you through every step of garden tilling so you can turn bare soil into a thriving planting bed without guessing.
Why Tilling Matters
Garden tilling is a soil‑conditioning process that loosens compacted earth, mixes organic matter, and creates a uniform medium for roots to grow. Proper tilling improves water infiltration, reduces erosion, and gives seeds a stable environment. Skipping this step often leads to hard patches where seedlings struggle to break through.
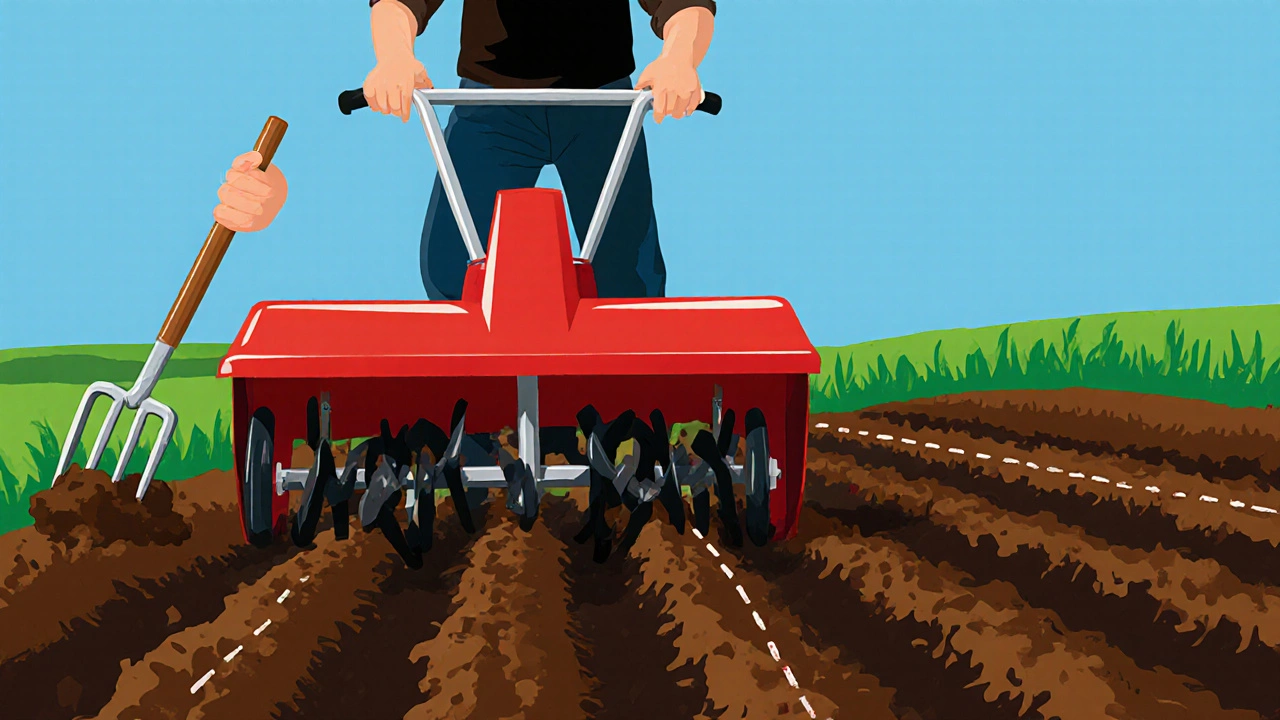
Choosing the Right Tools
The tool you pick sets the tone for how easy the job will be. Here are the two most common options:
- Garden hoe is a manual, lightweight tool ideal for beds under 200sqft. It gives you full control and burns minimal fuel.
- Rototiller (also called a power tiller) handles larger areas quickly, digging down to 12inches with a motorized crank.
| Feature | Garden Hoe | Rototiller |
|---|---|---|
| Price (USD) | $25‑$45 | $150‑$400 |
| Suitable area | Up to 200sqft | 200‑1000sqft |
| Depth control | Manual, up to 8in | Motorized, up to 12in |
| Physical effort | High | Low |
| Noise level | Quiet | 70‑80dB |
Preparing the Site
Before you even touch a tool, clear the area:
- Remove rocks, sticks, and old plant debris.
- Pull or cut any perennial weeds down to the root.
- Mark the boundaries of your future beds with string or a garden hose.
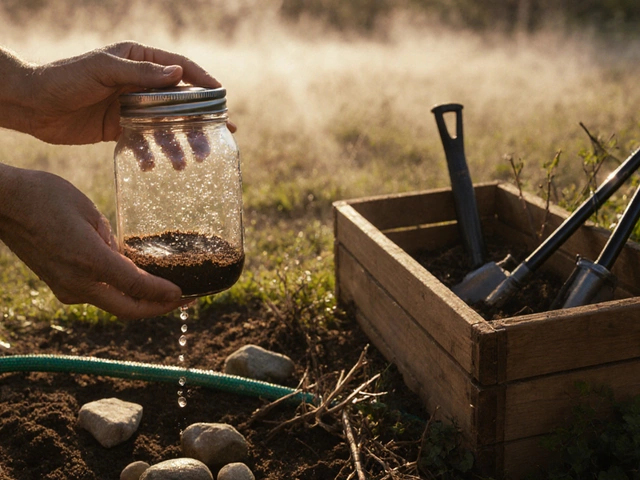
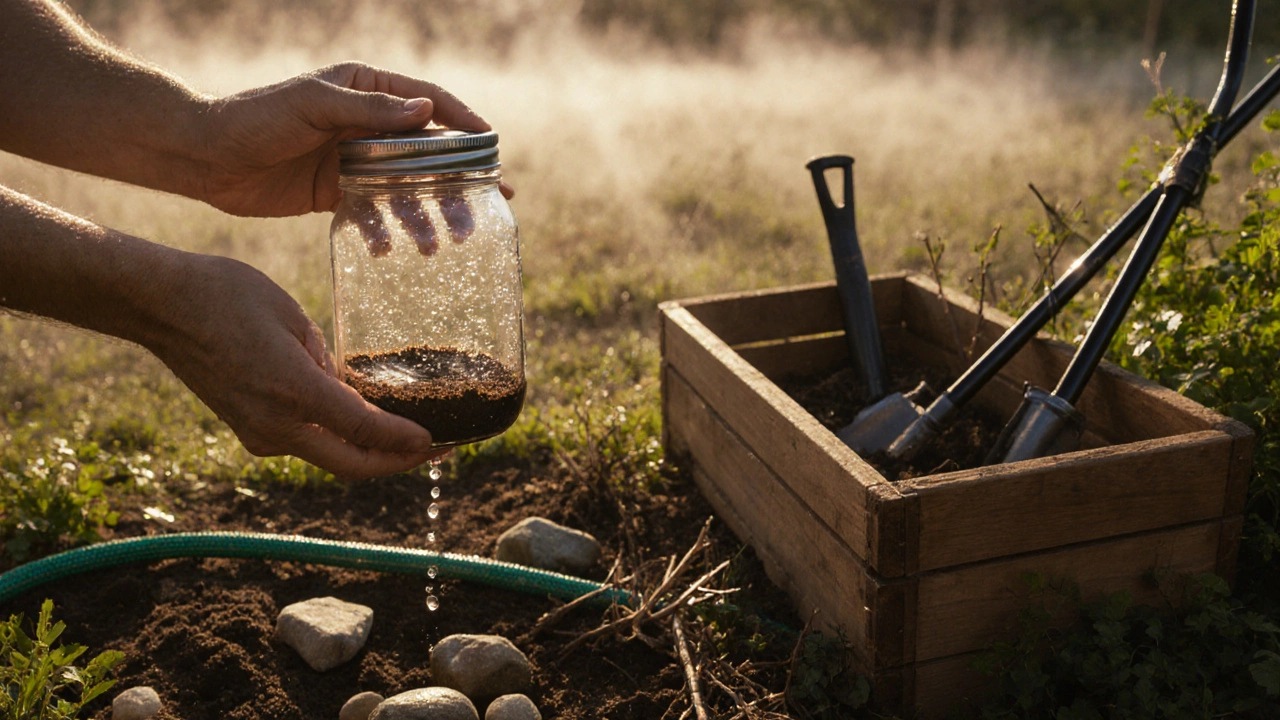
Next, understand what your soil needs. A simple DIY soil test (mixing soil with water in a jar) can reveal texture and pH. If the pH is below 6.0 or above 7.5, you’ll want to amend it with lime or sulfur.
Soil is the living matrix that supports plant roots, stores water, and hosts beneficial microbes. Adding organic matter improves its structure. Spread a 2‑inch layer of compost (well‑decomposed kitchen scraps, yard waste, or purchased bagged compost) across the bed and mix it in during tilling.
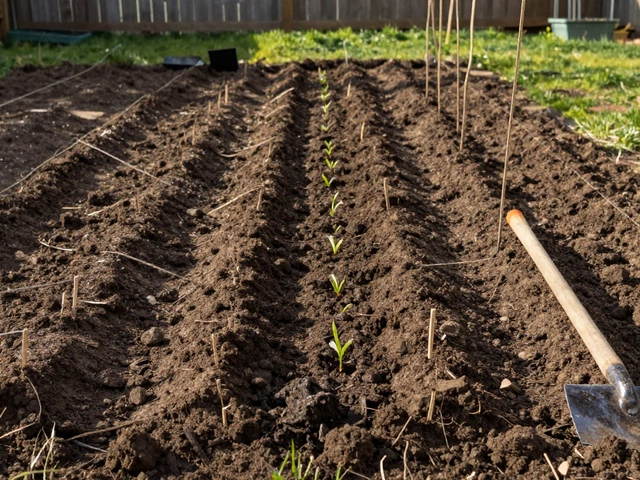
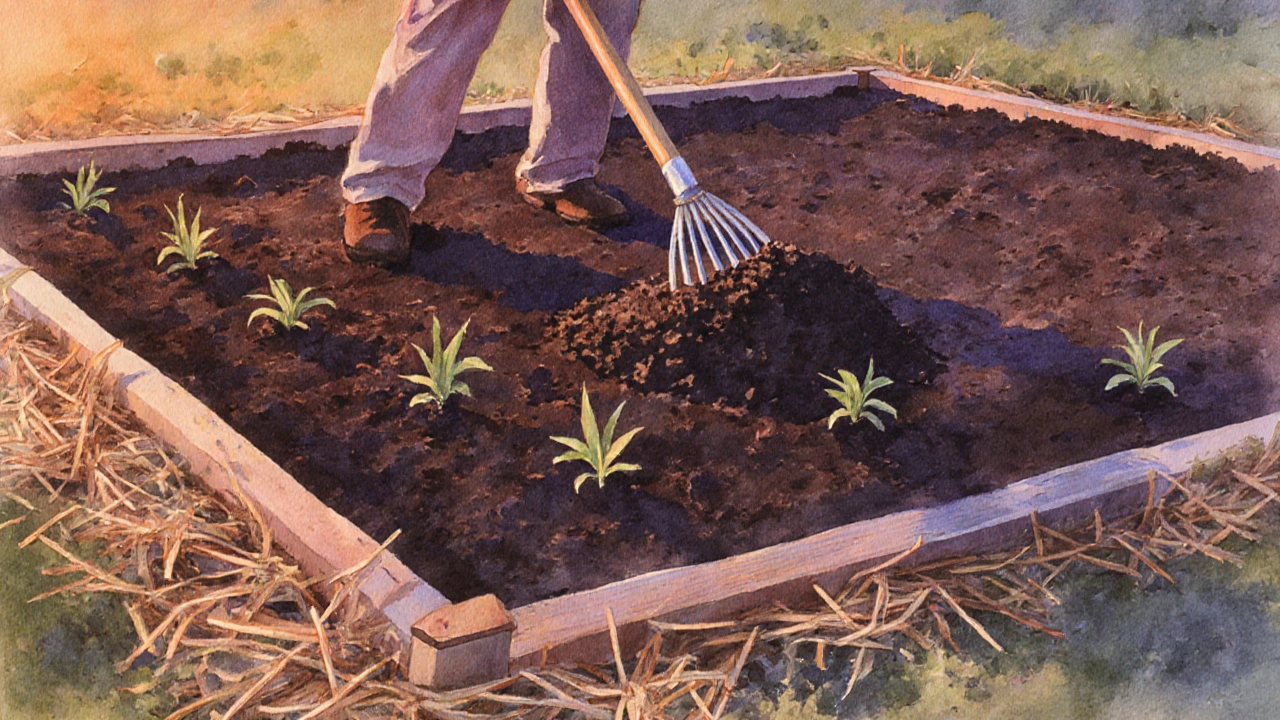
Step‑by‑Step Tilling Process
Now the real work begins. Follow these steps for consistent results:
- Moisture check: Soil should be damp, not soggy. Lightly water the area a day before if it feels dry.
- Set your depth: For most vegetables, aim for 6‑12inches. Adjust the rototiller’s depth knob or use a hoe’s blade angle.
- First pass: Move the tool across the bed in a straight line, overlapping each pass by about 12inches. This breaks up clods.
- Second pass at right angles: Turning 90° and repeating smooths the surface and ensures even mixing of compost.
- Rake smooth: Use a garden rake to level the soil, removing any remaining stones or large clumps.
- Settle period: Let the tilled bed rest for 24‑48hours. This allows air pockets to escape and the soil to firm slightly.
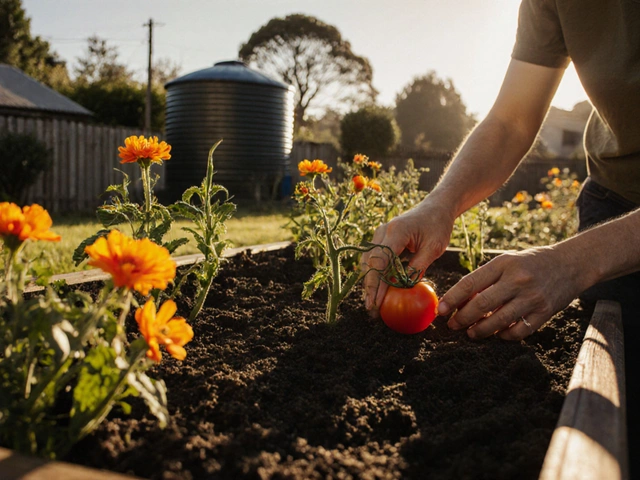
After Tilling: Seeding & Mulching
With a ready‑to‑go bed, it’s time to plant. Lay seeds or transplants according to their spacing guidelines, then lightly press them into the soil.
Cover the new seedlings with a thin layer of mulch (straw, shredded bark, or leaf mold). Mulch conserves moisture, moderates temperature, and suppresses weeds.
Define the area you’ve prepared as a garden bed, a designated plot that can be rectangular, raised, or container‑based depending on space.
Common Mistakes & Troubleshooting
- Over‑tilling: Digging deeper than 12inches can destroy soil structure, reducing beneficial worm activity. Stick to the recommended depth.
- Skipping compost: Bare soil lacks organic matter, leading to poor water retention. Always incorporate at least a 2‑inch compost layer.
- Working on dry soil: Dry earth shatters into hard pieces, making tilling exhausting. Lightly water beforehand.
- Using the wrong tool: A power tiller on a tiny balcony garden is overkill and can compact soil. Match tool size to plot.
If you notice persistent clods, re‑rake and give the soil another short tilling pass. For weed sprouts that appear soon after tilling, spot‑treat with a hoe or hand‑pull before they root.
Frequently Asked Questions
How often should I till the same garden bed?
For most vegetable gardens, till once a year in early spring. Re‑tilling more often can degrade soil structure and reduce microbial life.
Can I till a raised garden bed?
Yes, but use a hand hoe or a lightweight rototiller to avoid breaking the sides of the bed. Light tilling combined with compost incorporation works best.
What’s the ideal soil moisture level for tilling?
Aim for a crumbly texture - when you squeeze a handful, a few drops of water should release. Too wet feels muddy; too dry feels powdery.
Do I need to sterilize the soil after tilling?
Not usually. Introducing organic matter and beneficial microbes is more important. Sterilization is only needed if you’ve had serious disease problems.
How can I tell if my soil needs more sand or clay?
Do the “feel test”: rub a moist sample between fingers. If it feels gritty, add sand; if it feels sticky, add a little loam or sand to improve drainage.