Garden Planner
Personalize Your Garden Plan
Get tailored plant recommendations based on your conditions
Your Recommended Plants
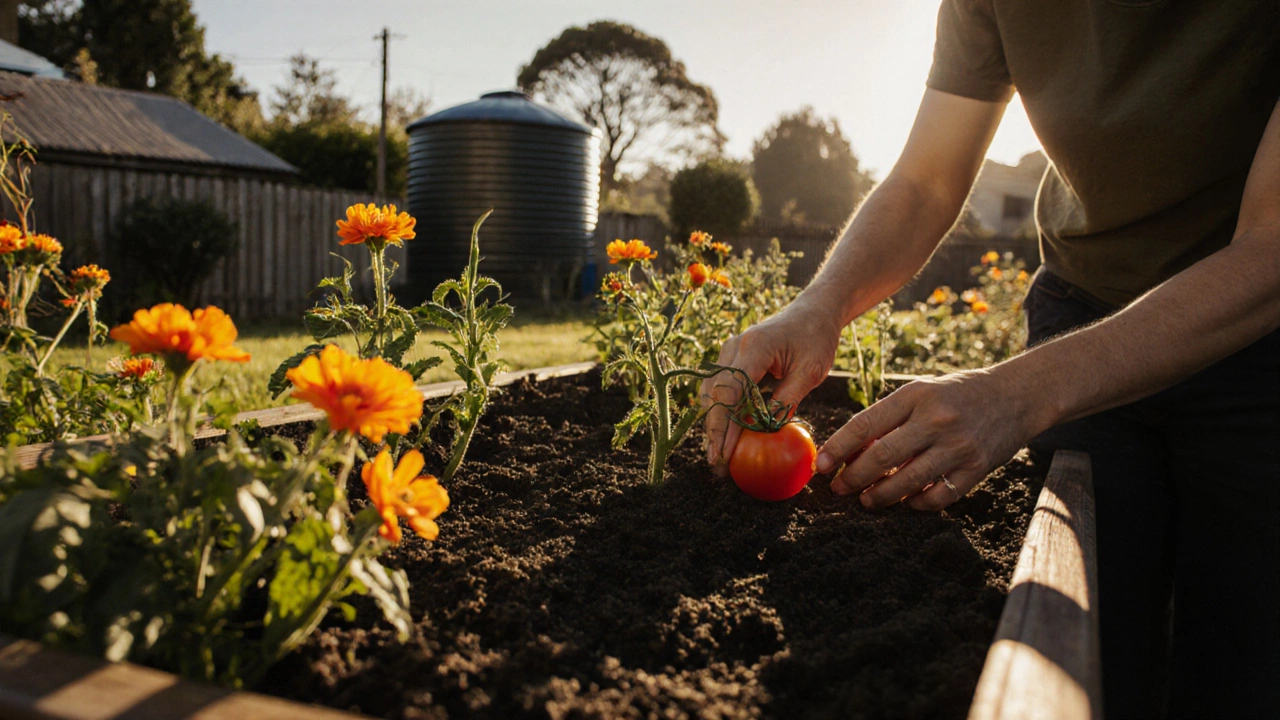
Planting a garden doesn’t need to be overwhelming. Whether you’ve got a patch of dirt behind your house in Wellington or just a few pots on a balcony, getting started is simpler than most people think. The key isn’t having the biggest space-it’s knowing where to begin and what to do next. Too many people buy seeds, dig holes, and then wonder why nothing grows. It’s not luck. It’s a sequence. Here are the 10 real steps that actually work, based on what grows reliably in New Zealand’s climate and soil.
1. Decide What You Want to Grow
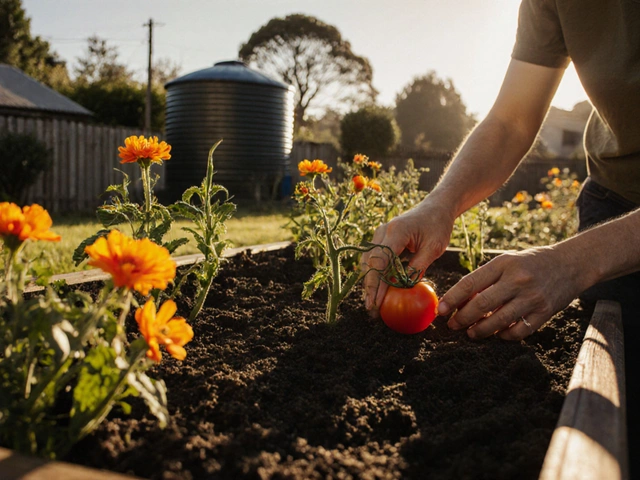
Start with what you actually eat or love to look at. Don’t plant kale just because it’s healthy if you hate the taste. Same goes for roses-if you don’t care for them, skip them. Focus on food first: tomatoes, lettuce, beans, herbs like parsley and thyme, and zucchini are all easy wins. If you want color, marigolds and nasturtiums repel pests and bloom all season. Pick three to five things you’ll use. That’s enough for your first try.2. Check Your Sunlight
Most vegetables need at least six hours of direct sun a day. In Wellington, mornings are often clear, afternoons can be windy and cloudy. Find the sunniest spot you’ve got. A south-facing wall gets the most light in the Southern Hemisphere. If your yard is shady, stick to leafy greens like spinach, silverbeet, or chard. They’ll survive with four hours. No sun? Use containers on a sunny windowsill. Herbs like basil and mint do fine there.3. Test Your Soil
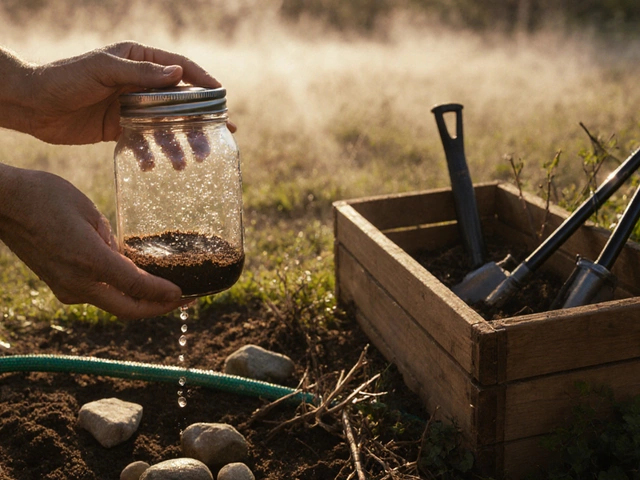
New Zealand soil varies wildly-from clay in Auckland to sandy loam in Canterbury. In Wellington, it’s often heavy and wet. Grab a handful of soil from where you want to plant. Squeeze it. If it forms a tight ball that doesn’t crumble, it’s clay. If it falls apart instantly, it’s sandy. Neither is ideal. The sweet spot? Soil that holds shape but breaks apart when poked. If yours doesn’t, don’t panic. You can fix it. Mix in compost or aged manure. Even a 50/50 blend of potting mix and native soil works for raised beds or containers.4. Clear the Area
Pull out weeds, rocks, and old plant debris. Don’t just yank weeds-get the roots. Perennial weeds like bindweed or oxalis come back if you leave even a bit of root. Use a garden fork to lift them out. If the patch is overgrown, cover it with cardboard or thick newspaper for four weeks. It kills grass and weeds without chemicals. Then, dig it over lightly. You’re not turning the soil deep-just loosening the top 15 to 20 centimeters. Too much digging ruins soil structure.
5. Improve the Soil
This is where most beginners skip and wonder why plants look weak. Add organic matter. Compost is best. If you don’t make your own, buy bagged compost from a garden center. Look for the New Zealand Organic Certification label. Spread a 5-centimeter layer over the area and mix it in with a fork. For containers, use a quality potting mix labeled for vegetables. Avoid cheap “garden soil” from hardware stores-it’s often just dirt with no nutrients. Add a slow-release organic fertilizer like blood and bone or seaweed meal. Follow the package. More isn’t better.6. Choose the Right Time
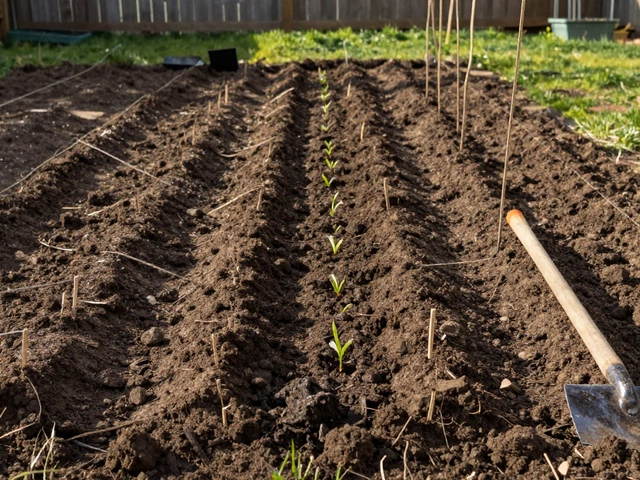
In Wellington, frost can hit until mid-October. Wait until the soil warms up. Stick your finger in the ground. If it feels cold below 5 centimeters, wait. Warm-season crops like tomatoes, peppers, and cucumbers need soil above 12°C. Cool-season crops like peas, lettuce, and broccoli can go in earlier. Check the back of seed packets-they usually say “sow after last frost.” In our region, late October to early November is safe for most things. If you’re planting seedlings, wait until after the May Queen (the last expected frost date) in your area.7. Plant at the Right Depth and Spacing
Planting too deep or too close kills more gardens than pests. Seeds usually need to be planted two to three times deeper than their width. For example, carrot seeds are tiny-just sprinkle them on top and lightly cover. Bean seeds? Bury them 2 to 3 centimeters deep. Always check the packet. Spacing matters too. Crowded plants don’t get air or light. Zucchini needs 60 centimeters between plants. Lettuce can be 20 centimeters apart. Use a ruler. Don’t guess. If you’re planting seedlings, dig a hole slightly bigger than the root ball. Gently loosen the roots if they’re tangled. Set the plant in, fill in, and press down lightly. Water right away.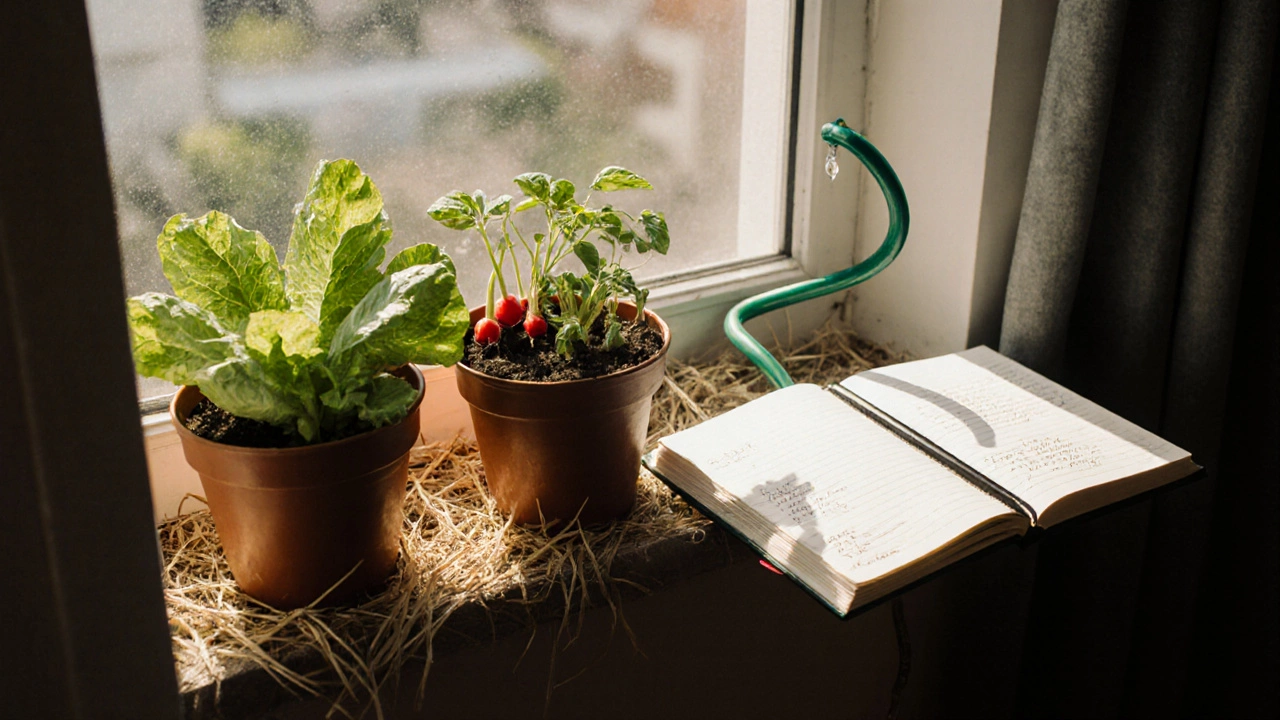
8. Water Smartly
Watering every day is a mistake. Plants need deep, infrequent soaks. A quick sprinkle just wets the surface and encourages shallow roots. Instead, water slowly at the base of the plant for 10 to 15 minutes, two or three times a week. Morning is best-it lets leaves dry before nightfall. Avoid wetting the leaves, especially with tomatoes and squash. That invites fungal diseases. A drip hose or watering can with a long spout works better than a hose nozzle. Rainwater tanks are ideal in Wellington. Collect it. Use it.9. Mulch to Save Work
Mulch is your silent helper. Spread a 5-centimeter layer of straw, bark chips, or shredded leaves around your plants. It keeps weeds down, holds moisture, and keeps soil cool. In summer, it cuts watering needs by half. In winter, it protects roots from frost. Don’t pile mulch against stems-it traps moisture and causes rot. Leave a little space around the base. Replenish it once or twice a year. You’ll notice fewer weeds and healthier plants without lifting a finger.10. Watch and Adjust
Gardening isn’t set-and-forget. Walk through your garden every few days. Look for yellowing leaves, holes in foliage, or wilting. Early signs mean early fixes. Aphids? Spray them off with water. Slugs? Put out a beer trap or copper tape. If plants look tired, give them a liquid seaweed feed. Don’t wait until they’re dead. Keep a small notebook. Write down what you planted, when, and how it did. Next year, you’ll know exactly what works. Your first garden won’t be perfect. That’s fine. The goal isn’t perfection-it’s learning. And by the end of the season, you’ll know more than most people who’ve been gardening for years.Can I plant a garden in containers if I don’t have a yard?
Yes, absolutely. Containers work great for tomatoes, herbs, lettuce, radishes, and even dwarf beans. Use pots that are at least 30 centimeters deep and have drainage holes. Fill them with quality potting mix-not garden soil. Place them where they get six hours of sun. Water more often than in-ground plants, since pots dry out faster. Group pots together to create microclimates and reduce wind exposure.
What’s the easiest vegetable for beginners to grow?
Lettuce and radishes are the easiest. Lettuce grows fast, doesn’t need much space, and you can harvest leaves as you go. Radishes are ready in under four weeks. Both tolerate cooler weather and don’t need rich soil. Just plant the seeds, keep them moist, and you’ll get results quickly. That quick win builds confidence.
When should I start planting in Wellington?
In Wellington, start cool-season crops like peas, spinach, and broccoli in late August or early September. Wait until late October to early November for warm-season crops like tomatoes, peppers, and zucchini. Check local frost dates-some areas near the coast warm up faster than inland. The key is soil temperature, not the calendar. If the ground feels cold below your knuckle, wait.
Do I need to use fertilizer?
You don’t need chemical fertilizers. Organic options like compost, worm castings, or seaweed meal work better and are safer for soil life. Mix compost into the soil before planting. Use liquid seaweed every two weeks during the growing season to boost growth and help plants resist pests. Too much fertilizer burns roots. Less is more.
Why are my plants wilting even after watering?
Wilting after watering usually means roots are drowning or there’s a disease. Check the soil-if it’s soggy, you’re overwatering. Let it dry out before watering again. If the soil is dry and plants still wilt, they might have root rot or a fungal infection. Remove the worst-affected plants and improve drainage. Add more compost to help the soil breathe. Avoid watering from above-use a can at the base.