It’s wild how nature can flip your mood around. You step outside, press your hands into cool dirt, and suddenly you forget about all that screen time. But don’t let Instagram-perfect garden pics scare you off. You don’t need to master Latin plant names, and you definitely won’t need a sprawling estate. Every great gardener started somewhere—usually, with just a patch of ground, some leftover pots, and a whole lot of curiosity. This is about getting you started, easily, with the kind of help I wish I’d had when I first dug up my backyard in windy Wellington. You just need the right plan (and maybe a good pair of gloves so you don’t wreck your nails).
Picking the Perfect Spot for Your Garden
Before you rush into seed packets and bright pots, step outside. Pause, and look for the best bit of sunlight in your yard. Most plants need at least six hours of direct sun a day—yes, even when Wellington’s clouds put on a show. If you only get dappled light, don’t panic: leafy greens and herbs can thrive there, and you’ll find varieties for every corner. Check what’s already growing wild, too. Are you seeing moss? Dandelions? That tells you about drainage. You want a spot where water settles but doesn’t pool and drown everything after a classic Kiwi downpour.
Think about convenience. If the veggie patch is too far from the kitchen, you’ll avoid it. Keep it close, ideally within arm’s reach of your back door, so it’s easy to water and you can snip herbs for dinner without hiking across soggy grass in your slippers. Once you’ve landed on a spot, size it realistically. No point creating a field if you’ll only plant two tomatoes. A raised bed a metre wide and two metres long is enough to get started and not too scary to maintain.
Don’t skip the wind check. Here in Wellington, gusts come out of nowhere. Shelter your garden with trellis, netting, or even a makeshift windbreak of old deck chairs if you’re desperate. Nearby fences, shrubs, or the south wall of your house can also provide protection. And if you’re in a city apartment, don’t let that stop you—containers can go on balconies, steps, or even hang from railings if you’re clever with hooks.
Here’s a quick peek at what plants need and what sort of spot suits them best:
| Plant Type | Sunlight Required | Space Needed | Wind Protection |
|---|---|---|---|
| Tomatoes | 6+ hours | 40cm apart | Beneficial |
| Lettuce | 4-6 hours | 20cm apart | Light shelter |
| Herbs (Basil, Parsley) | 4-6 hours | 15cm apart | Optional |
| Strawberries | 6+ hours | 25cm apart | Important |
Pick your spot with these facts in mind and you’ll avoid so many rookie headaches down the track.
Choosing What to Grow: Matching Plants with Your Lifestyle
You know that excited feeling in a garden centre? The seed packets call your name and suddenly you want to eat homegrown cauliflower, endless cucumbers, and a rainbow of carrots. But not everything works for everyone, and no one wants to stare at a sad, half-grown pumpkin in November. The secret is starting with plants that genuinely fit your life. Are you after instant results for impatient kids? Radishes and salad greens appear within weeks. Not home much? Succulent plants or hardy Mediterranean herbs like rosemary or thyme won’t mind.
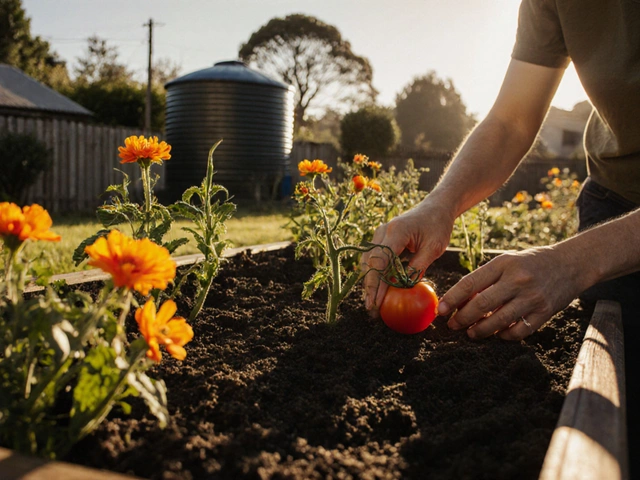
Another trick: think about what you love to eat. There’s no joy in a bumper crop of silverbeet if you can’t stand the stuff. Tomatoes, strawberries, lettuce, and spring onions are crowd-pleasers and surprisingly forgiving. Herbs like mint and chives border on indestructible—they’ll even survive being forgotten for a week (or two). If you’re lucky enough to have a sunny corner, try cherry tomatoes or courgettes—they’re generous producers for beginners and feel like a win every time you spot a new flower.
Now, let’s talk climate. It’s tempting to attempt mangoes or avocados in a Wellington garden, but unless you build a full-on glasshouse, they’re not going to thrive. Stick to what works in your local area. Take a quick stroll around the neighbourhood and see what’s already growing; what your neighbours are harvesting, you probably can as well. If you want something pretty as well as edible, nasturtiums keep bugs away from your vegetables, and you can eat the peppery flowers in salads. Edible flowers like calendula and viola are also easy and brighten up any patch.
For those keen on a bit of science, here’s a quick breakdown of easy starter crops for Kiwi backyards:
- Lettuce and mixed salad greens (fast results, repeat harvest)
- Radishes (from seed to salad in four weeks)
- Strawberries (minimal fuss, tasty reward)
- Herbs (parsley, basil, mint, chives, coriander—pick your favourites)
- Spring onions (companion plants, space savers)
- Carrots (patience pays off, good for kids)
- Tomatoes (worth the wait, but need shelter from wind and cold)
Match your choices to your time and taste buds for a garden that truly fits you—not just your Pinterest board.
Setting Up the Soil: Your Garden’s Foundation
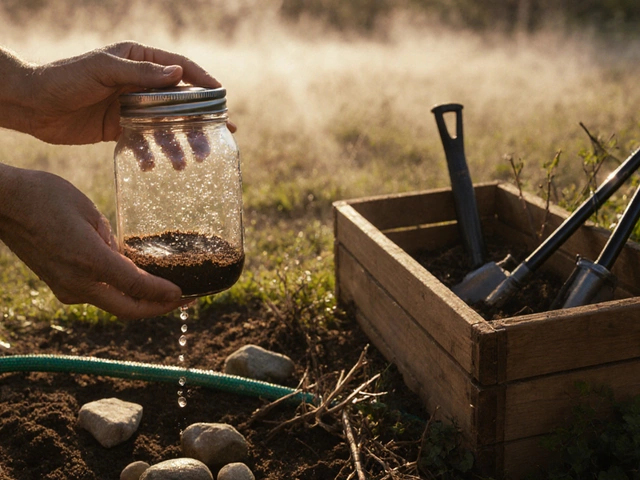
Soil is way more than just dirt. Give your plants rich, healthy soil, and they’ll shoot up with almost zero help. Start by testing a handful. Does it clump up tightly or fall apart in dust? Both ends of the spectrum spell trouble. The perfect garden soil in Wellington is slightly crumbly but holds its shape like the perfect brownie. If your dirt is dense and sticky (hello, clay), lighten it up with a few buckets of compost or some store-bought garden mix. Sandy? Mix in compost to help it hold water. You don’t need to buy bags of fertiliser every season—kitchen scraps in a home compost can turn your leftovers into plant food gold in a few months.
If you want to skip the guesswork, raised beds are lifesavers. Wooden frames or even old bathtubs are popular—just drill a hole or two for drainage. Raised beds warm up faster in our unpredictable spring, let you control the soil quality from the start, and make weeding far less brutal on your back. For container gardening, any pot will do, so long as it’s got a drainage hole and you use decent soil. Never fill pots with dirt straight from the garden; it compacts and turns roots soggy. Go for bagged potting mix. Line the bottom with pebbles, then fill with mix up to a few centimetres from the top so you have room to water.
Mulch is your best friend—add a layer of straw, bark chips, or even shredded newspaper to lock in moisture and block weeds. Weeds can choke out young plants, so make this step a habit. Water is the next essential. Drench your patch after planting, but don’t go overboard. Root rot is the real deal, especially if you’ve got heavy rain like we get here in Wellington in winter. Try watering early in the morning so the leaves dry out by afternoon—this helps fend off pesky moulds and fungal diseases.
For the science lovers, here’s what you want your soil to have (with a nod to the Kiwi context):
| Nutrient | Ideal Level | What it Does |
|---|---|---|
| Nitrogen | Medium | Leaf growth |
| Phosphorus | Medium | Root development, flowers |
| Potassium | High | Fruit size, disease resistance |
| pH Level | 6-7 | General range for veggies |
You don’t need fancy test kits. Most garden store mixes are balanced for home use. If you see yellow leaves or stunted plants, feed with liquid fertiliser once a month. Listen to your plants—they’ll tell you if they’re struggling.
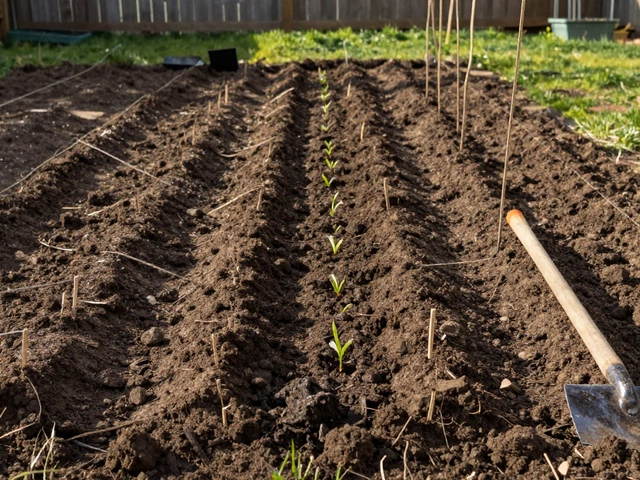
Planting: Getting Stuck In, Step by Step
This is the fun bit. No fancy tools, just enthusiasm and maybe a decent trowel. Start by loosening the soil with a fork or spade, breaking up any big lumps. Scatter your seeds or tuck in seedlings carefully. For most veggie seeds, a groove in the dirt about as deep as your fingernail is perfect. Cover with a light layer of soil—not too thick, or they’ll never see daylight.
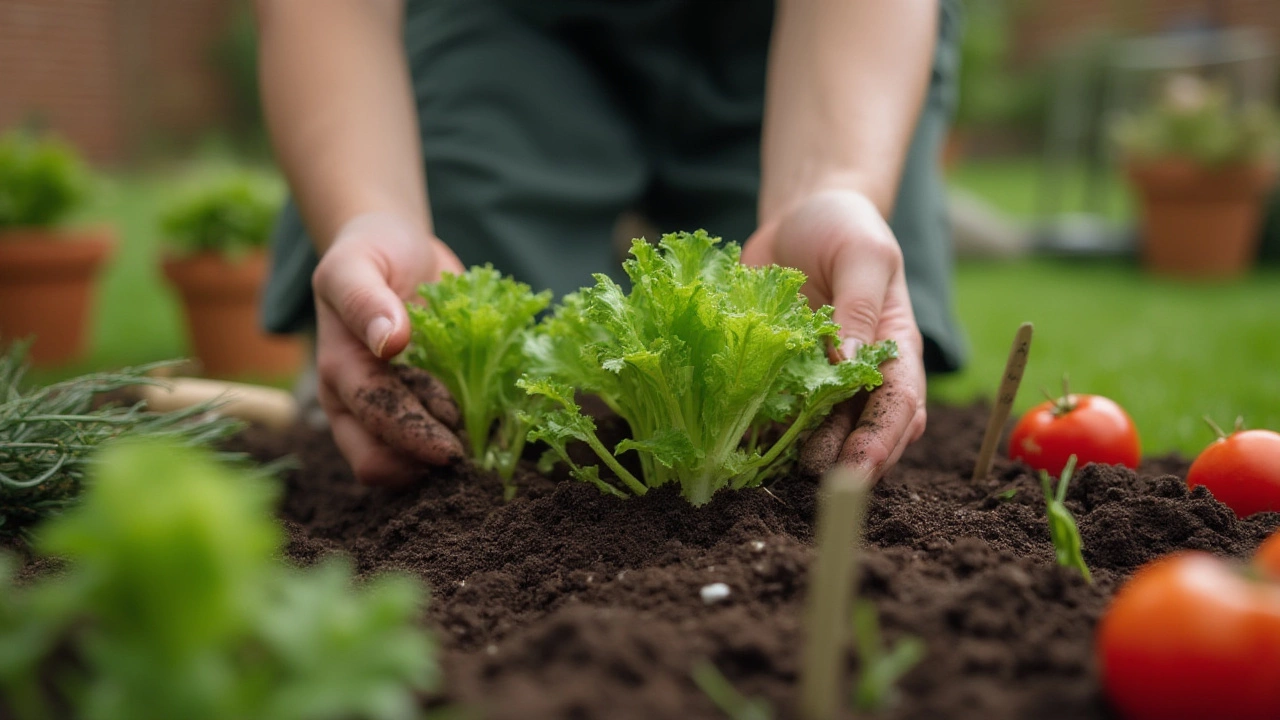
If you’re going with seedlings from the garden centre, gently tease apart any tangled roots before planting. Make holes slightly bigger than the seedling pot, set the plant in, then firm soil around the base. Water right after planting—settles the soil and gets roots working. Don’t forget to label what you’ve planted, especially if the seedlings all look alike. Trust me, it feels awkward mixing up parsnips and carrots later in the season.
Timing matters, too. In Wellington, planting out most crops after risk of frost (usually late September) is safe. Some, like peas and broad beans, can handle cold and go in earlier. Pay attention to seasons and the back of seed packets—they’re written for our hemisphere. For those without a calendar to hand:
- September to November: Start tomatoes, beans, courgettes, lettuce
- March to May: Plant spinach, broad beans, broccoli
- Any time: Most herbs except basil (wait till it’s warm for that)
Give your plants space. Packed-in seedlings grow spindly, fighting for every last sunbeam. Follow the gap suggestions on packet backs—they’re there for a reason. If you plant too many seeds in one row, thin them later by snipping out the smallest ones, making room for the strongest. That’s how you get plump, healthy veggies instead of a tangled mess.
Some crops need support: tomatoes love a stake, climbing beans go wild for a trellis. Even with tiny gardens, lean into vertical growing—hang baskets, stack pots, or train vines up fences. When in doubt, less is more at first. You can always add more later.
Caring for Your Garden and Keeping the Joy Alive
This is where habits win out over heroics. Five minutes a day strolling through your patch does more good than a blitz once a month. Look out for wilting, yellowing, or holes in leaves. Snip off dead growth to keep things tidy and healthy. Regular watering (but not soaking) means consistent harvests. During hot Wellington days—yes, we occasionally get those—plants might need a drink in the morning and evening. Rainwater is gold, so set up a barrel if you can; it’s softer on plants than tap water, which sometimes contains extra minerals.
Pests are inevitable, but don’t panic. Slugs love lettuce, aphids always find your favourite roses. Pick off pests by hand or try homemade remedies—a squirt of soapy water on aphids, tin cans around seedlings to keep slugs at bay. Birds can be pesky, especially if you grow berries. Lay mesh over ripening strawberries, or hang up a few shiny objects to scare them off (old CDs, wind spinners, or even colourful pegs). Don’t go toxic. Most bugs sort themselves out if you keep the garden diverse: plant a few flowers among the veggies to attract bees, ladybirds, and hoverflies, who will eat up troublesome aphids for you.
Harvest often and enjoy it. The more you pick lettuce or herbs, the more they grow. Tomatoes taste best warm, straight off the vine. If you get a bumper crop, swap with neighbours or freeze leftovers—homemade tomato sauce in the middle of winter feels like magic. Take photos, pat yourself on the back, and try something new each season. You’re officially a gardener now. The secret is sticking with it, adding new crops when you’re ready, and asking for advice at your local nursery. There’s always someone keen to share what worked for them—and what spectacularly flopped.
Here’s a snapshot to keep handy for garden care:
| Task | How Often |
|---|---|
| Watering | Daily in dry spells, otherwise 3 times/week |
| Weeding | Weekly (or as soon as trouble pokes up) |
| Feeding & Fertilising | Monthly (liquid fertiliser for veggies) |
| Pest Checking | Every few days |
| Harvesting | As soon as crops are ready |
One of my favourite facts? Even tiny gardens add up: a National Gardening Association study found the average Kiwi home veggie garden returned $5 in produce for every $1 spent. Not a bad deal for dirt under your fingernails, fresh food, and a daily dose of sunshine.